Surface Treatments

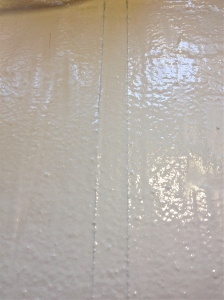
In our workshop session last week Dave encouraged us to play with surfaces in various ways. One technique I used was to mark the soft surface with something hard (edge of a ruler, stamp), heat the surface to superficial hardness with an air dryer and then roll it. This forces softer clay from below in between, and sometimes over, the hardened surface, making interesting patterns. I decided to try this again with ppc, curious as to how the textures would influence the translucency.

These are the patterns I produced – the 1st with the edge of a ruler, the 2nd with a wooden stamp:

IMG_2837  IMG_2836


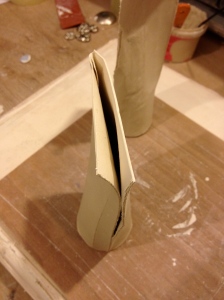
Then the vessels:

IMG_2848     IMG_2846


I made this with all the offcuts:

IMG_2843

Reflections on Translucency.

I want to be quite transparent here. Light matters.

Why pursue translucency? What is it’s hold on me ?

I think there is something subtle and nuanced about the seeing of  translucency. Like all perceptions it comes with emotional resonance. It is a paradox. It hints and implies. It suggests. Revealing without detail, it conceals in the act of showing. Detail and colour are shrouded in its semi opacity.

The phenomenon isn’t confined to ceramics. It is present wherever light is transmitted whilst the detail it carries is absorbed. Thus diaphanous materials, such as silk or nylon may be translucent, frosted glass, thin porcelain, mist and fog, thin clouds, bubbly water, or insect wings.

Curtis Benzl observed that translucency is to transparency as lingerie is to nudity. A sharp observation – partial revelation is always the more enticing.

So, to some extent I am seduced by translucency. So too, it would appear, are many other potters – Benzl himself, William Staefel, Angela Verdon, Mellor, Sasha Wardell, Paula Bastiaansen, Arnold Annen, Arne Ase and many others have made a living following the path.

Ceramic translucency offers a further paradox. At first the constituent materials are opaque. Thinned and heated to extreme temperatures, they become translucent. A phenomenon that is largely found in soft and flowing, or even insubstantial materials, emerges from stony hardness. It is truly a wonder. Strangely, although the emergence of transparency from melted sand is equally wondrous it isn’t, for me, as beautiful.

Most translucent materials flow. Although cool porcelain is hard its creation requires melting to the point of glass formation and thus this translucent material, too, has to flow during its creation, posing considerable problems for potters. Maintaining form whilst creating translucency is an endless battle and, I think, a worthwhile craft.

David Binns, in his recent lecture on Practice Research, observed that his early experience working wood left him wanting the surface of his ceramics to reflect the whole body. I share this aesthetic, although, for me, the body is necessarily quite insubstantial and the most important part of the object is its surface and texture. I see the transmitted light as part of both aspects. The shape and form are ways of carrying and using the light transmission and modification characteristics of the material.

Here’s why it needs sorting.

The preparation of yesterday’s pots:

IMG_2806 IMG_2805 IMG_2804

I had the idea, from the cotton experience yesterday, that I could use cotton and string, coloured and not, to stain the clay. Furthermore. after firming up, the removal of the cotton/string would leave a textural line it the clay. The 1st pot had 4 threads of cotton, overlapping to form a rectangle, the second 2 parallel vertical lengths of string. Vessels formed. All looked good…..until a nights drying was complete:

IMG_2833 IMG_2835

This apparent crushing was achieved without human intervention. Merely internal, unresisted forces. Just for the record, they were originally round! Cracking occurred at the lines of weakness created by the threads and the straightening of the vessel sides was almost complete.

Bring on the rims.


Idea of how to prevent collapse of closed curve vessels.

Was just going to bed when a thought occurred. Had to write it down.

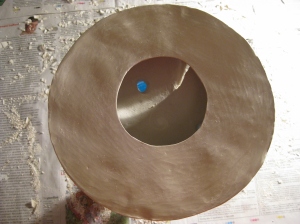
Structural integrity tends to be maintained at the base of the vessel but not at the top. A lip will strengthen it. But so will a lid with a hole in it. It can be mainly hole, with a thin rim but, in relation to the tendency of the edge to warp inwards it should function like an arch and provide the strength necessary to prevent collapse.

I made a series of what I called Bowls with Holes for my NVQ at Southport College. A pic gives the idea:

IMG_1173

Of course, once the decision has been made to put in such a structure at one end, it can also be done at the other. Thus a hollow cylinder open at both ends is made. The choice of a ‘vessel’ is conventional for these objects, given that they need to contain nothing but light. They are all surface.They can be stacked inside each other, or ‘upside down,’ lit from below, above or behind. Not just cylinders either. Other related shapes could be made………all assuming the structure proposed does provide the strength needed to maintain the shape. They could stand on an illuminated base or against an illuminated ‘wall’ or a window.

Another alternative, if I can make them stay in one piece, is flat sheets, later assembled. Right angled pieces could be made on a right angled refractory mould. The piece could shrink up each side towards the fold, theoretically without warping. Any angle, unless it is so acute it severs the sheet.

And we are still waiting to see how hollow open refractory moulds perform.

Curate’s egg for Monday tea.

The kiln is now open and I found some awful crap, some bearable crap and some positively satisfying non-crap.

Starting at the bottom, so to speak, of the kiln:

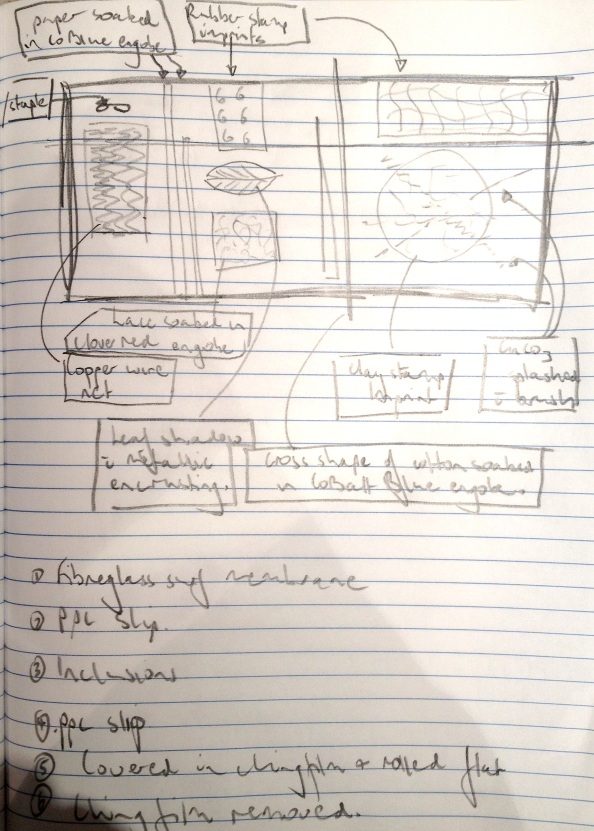
The ppcs slab shown in my drawing earlier was mainly a fail with a little bit bit of win.

IMG_2807

These were the bits under the batt. At the front is a blue engobed thin tile with sgraffito. It disintegrated. At the back are the remains of the other test tile, as described earlier. The black gunge, which has ruined the underling batt, is the remains of the copper net (very thin, but obviously gets everywhere at 1260C). The piece was split by multiple horizontal gaps, caused, I suspect, by a combination of

  • differential drying at the green stage as a result of the inclusions and
  •  pressure from the overhead batt and the pots supported on it.
  • Presumably the clay platelets are randomly distributed and not lined up, weakening the overall structure. Would a solution be to roll firmly throughout the process of building up the layers, each time at right angles to the previous roll?

However, the bits contained some goodies:

IMG_2832 1 IMG_2830  2IMG_2829 3

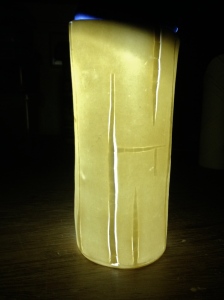
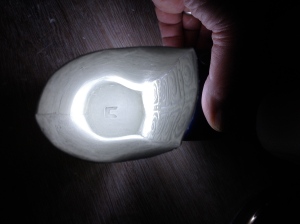
All these pics are via transmitted white LED light (and so look cooler than with an incandescent bulb). A lesson for any light fittings that might emerge from this process.

  1. Shows marks left by the paper and cotton soaked with Cobalt blue and embedded in the slip. This is a success in so far as it indicates that the process works. Presumably other thin materials, soaked in other colours will also work. The cotton offers great opportunities.
  2. Shows the splattered CuCO3 on an inner layer. Same conclusions can be drawn about other colours
  3. Cobalt blue painted on the tile at the front of the kiln. Transmits light well. Very white lines are where it split, along the sgraffito lines. The lighter blue is directly above the LED bulbs.

The vessels described and shown from 2nd Oct are shown below:

IMG_2810 IMG_2813

These were a success: although uncoloured in any way, consisting only of ppc, there is plenty of contrast and texture, both in reflected and transmitted light. I am curious to see the 2 I made at UCLan.

IMG_2817 IMG_2819

Here is a vessel I made with a rubber imprint for the contrast. Perfect from the front but, as the second picture shows, it warped in the heat of the kiln. Curve integrity remains the Grail….something about the lip.  It is about 0.5mm thick.

IMG_2815

This is a ppc pinch pot, between 1mm and 2mm thick.  Half way thru the process I painted it with Na Silicate and let it soak in before continuing with the pinching process. In my rush to get it thin enough I overworked the clay and the sides became very sloppy, necessitating the use of ‘darts’ in the sides to maintain some shape. It is quite irregular and ugly in reflected light but I think it looks almost solar in transmitted. The Dispex worked well in giving the surface an irregular texture.

On the whole, the egg was tasty, though some had to be discarded as rubbish.

Weekend fun

I fired the recent greenware. Once fired – to 1260C. Held for 30 mins. Cooling now. Awaiting opening. Also included:

2 previously mature fired pots to which I have added some Cobalt blue decoration for contrast

An experimental sheet of ppcs on fibreglass membrane with various inclusions (from notebook):

IMG_2791


Fired this between 2 kiln shelves, covered in Batt wash, to prevent warping. Curves come later.

Opening kiln in a few hours!

Never Straightforward

I decided to modify a technique described by Sasha Wardell in which she makes a mould and fills it successively with different colours of bone china slip, tipping each out after a minute or so. This produces a thin vessel. After it has firmed up she scrapes it with a razor blade, revealing the colours underneath, which are translucent when fired to maturity because it is so thin.

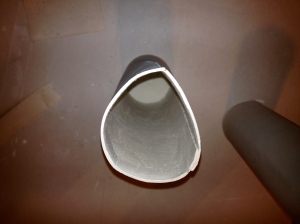
I had a go at using the fibreglass/ppc slip technique, juxtaposing different coloured layers painted on with the same intention. I made 2 simple vases. The 1st was painted with the colours across its whole area, the second in blocks. Both were finished with white slip and then rolled flat  in cling-film  to try to ensure regular thickness. The colours were force dried before application of the next layer to avoid smearing. Then formed into vases using a cardboard tube as a shaper. I used Speedwell Blue, Clover Red and Cornflower Blue, in that order. 

IMG_2608       IMG_2609

As they dried, they warped. I fiddled with them using a spray to try to reshape them

IMG_2615     IMG_2614

We’ll see……

Complete disaster. Warped to severe cracking as they dried. Had to be binned. No rescue. Attempted to scrape them to see how colour effect would turn out. Got that wrong too – too early, clay still a bit damp and tore rather than scraped. So much to learn, so little time!

Probable cause: uneven drying caused by uneven thickness of the different slips. Solution probably to:

  1. only apply the different colours as a whole block
  2. to the whole sheet – no gaps
  3. count the layers applied
  4. allow to dry naturally – avoid forced drying until more familiar with technique.
  5. roll under cling-film at each point

Reflections on supporting pieces in the kiln, and Manchester

I have been thinking about the problem of maintaining structural integrity of the v thin pieces in the kiln. I have been reading how various artists make their work and had discovered the work of Paula Bastiaansen.  She fires her pieces on a conical slump mould:

PB002 PB working 01I don’t know what she does next but it would appear it is assembled post firing. It occurred to me that I could try a similar technique using refractory moulds for my fibreglass/ppc slip pieces.

I emailed DB asking if he could advise me on casting a mould, either in refractory plaster or refractory concrete if that had better heat resistant properties. He felt the former would be likely to decompose at porcelain temperatures and so we chose the concrete (DB’s research material). So on Thurs I went in and, with Margaret & Maureen, he showed us how to cottle up and we poured the plaster to make a mould to cast the concrete off.

The Design MA students were due to go to Manchester to see The Great Northern Craft fair, the John Ryland Museum, Magma bookshop and Fred Aldous Craft Shop on the Friday. After a lot of deliberation I decided not to go because I have visited all but Magma in the last 2 years. I felt the benefits of going in to the course, sorting out my card and my difficulties with logging on to the student portal (which turned out to be caused by using Safari as my browser), together with the mould making, outweighed the smaller benefits of going to Manchester.

So, after sorting those out, I spent some time researching artists who have made translucent ceramics and downloading papers about them, using the student portal and Explore!

Then I sanded down the pieces from last week. I had brought in some Cobalt Blue to trickle down the grooves, for contrast. But then decided I was being fiddly and that if I was curious as to how the differing textures would show themselves in the final firing I should leave well alone. Had an interesting conversation with Mike (2nd year MA) about his technique of slabbing porcelain, cutting it in to strips, freezing it and then breaking it with a chisel, re-freeezing and thus creating an appearance of wear and erosion. The smaller pieces are assembled into structures resembling geological formations, inspired by local geology.

Then I shaped the plaster on the lathe. Really enjoyable. DB is a perfectionist. I realised I had taken an attitude that this was an experimental process and so didn’t need to be too accurate. His approach was that If I was going to do it I should do it to the best of my ability. I realised I was just cutting corners and I was wrong. Lesson learned…. Got a good shape, in the end, which I hope will result in a mould wide enough to let me work on pattern inside it.

IMG_2587

IMG_2588

IMG_2589